
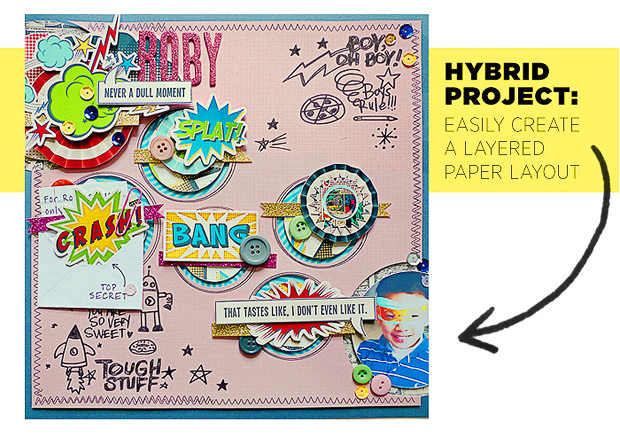
Hybrid Project // Create a Layered Paper Layout Using a Digital Template // Part 2 // Silhouette Tips & Tricks
I hope everyone is having a great week! Today I want to share a paper layout I recently put together . . . the first paper layout I've ever created!
I've always loved paper crafting and I'm a huge fan of Project Life, but traditional scrapbooking has always been more of a challenge for me. When I discovered digital scrapbooking, I fell in love and, had it not been for the amazing Silhouette machine Ray gave me, my paper crafting may have permanently taken a backseat to Photoshop.
Well, I'm happy to say I was finally able to jump over that last scrapbooking hurdle. I've realized an important step in my scrapbooking work flow is creating a mock up before actually touching any paper. Here is the digital layout I made and I included my paper layout right underneath for comparison.

Hybrid Tutorial // This Tastes Like I Don't Even Like It // Digital Layout
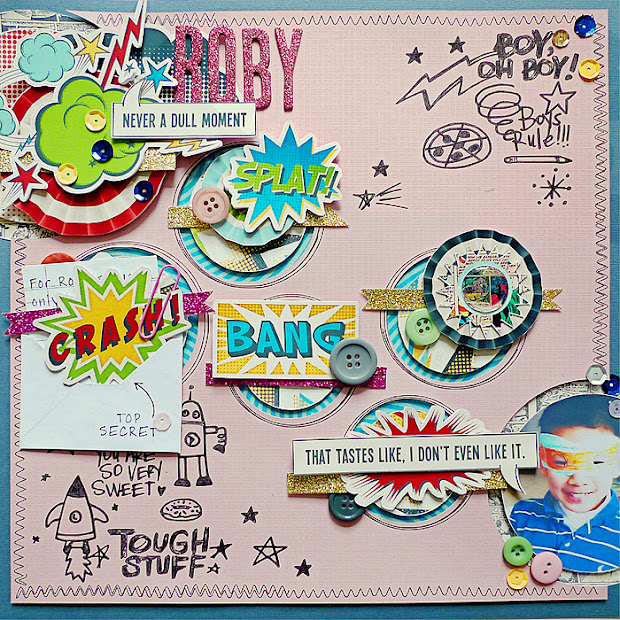
Hybrid Tutorial // This Tastes Like I Don't Even Like It // Paper Layout
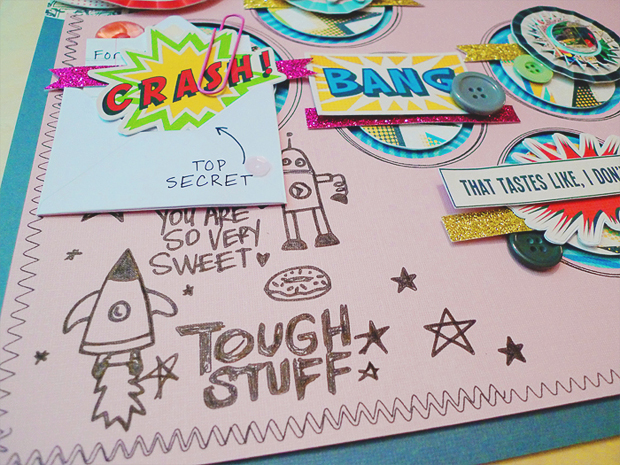
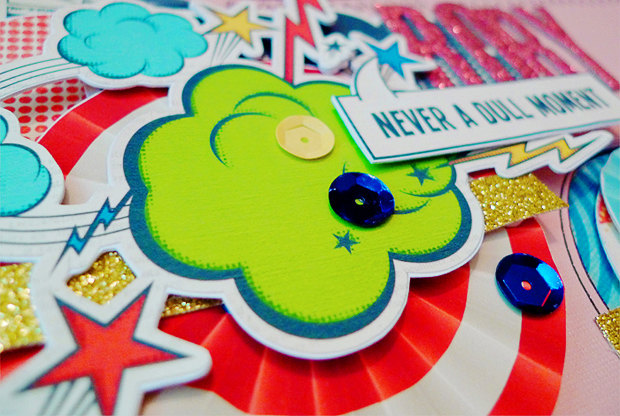
Hybrid Tutorial // This Tastes Like I Don't Even Like It // Paper Layout // Close Ups
I am so happy with how it turned out and I put together a tutorial that outlines my process from start to finish. It is going live today on the Sweet Shoppe Designs tutorial blog: Creating a Layered Paper Layout using a Digital Template.
I'm sharing Part 2 of my tutorial right here and will discuss more specific techniques I used to create my layout including:
1. My Print & Cut Workflow
⁃ Using Photoshop with the Silhouette Software
⁃ Free Time Saving Template
2. How to Translate Digital Stamps onto Large Format Paper
⁃ Using the Silhouette Sketch Pen Feature
For a more general overview of my entire process, check out Part 1 over at SSD. Otherwise, let's get down to the nitty gritty!
My Print & Cut Workflow
The Print & Cut feature on the Silhouette machine is truly the great equalizer of all craft tools. My clumsy fingers, so deft at Photoshop, never fail to disappointment once they get a pair of scissors in their grasp. Now, I craft with impunity and feel as empowered as any DIYer out there.
This is a great Print & Cut tutorial with step by step instructions on how to use this amazing feature. Right now, I will be focusing specifically on one step of the process--merging files using the Silhouette software. To save time, I avoid merging files individually. Instead, I use the template below to arrange all my files in Photoshop first. Then, I can save a group of images as a single file.
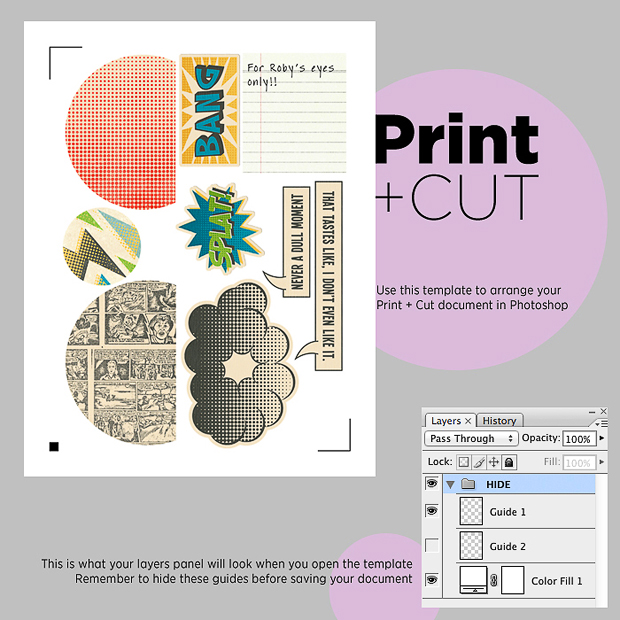
Print & Cut Tutorial // Silhouette Tips & Tricks // Download // Free Template
So, for this particular project, instead of opening up 34 individual files manually, I only had to open 5 files to create 5 Print & Cut documents. Feel free to download this template below and save your elbow (or wrist) grease for the paper crafting :).
Download Here
How to Translate Digital Stamps onto Large Format Paper
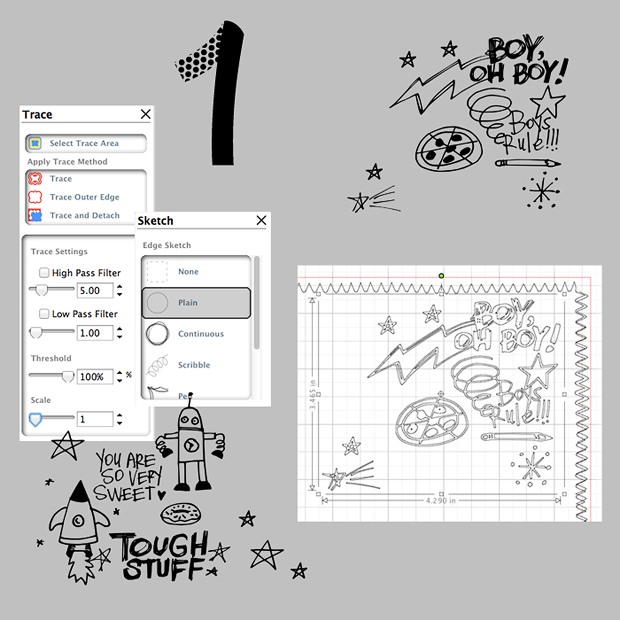
Most people do not have access to a large format printer, so how do you create hybrid layouts using large 12" scrapbooking paper? One great tool is the Silhouette Sketch Pen. I used it to draw the doodles and other elements onto a large sheet of card stock. Using the Sketch Pen was another first for me and I thought it would be helpful for other newbies to take a look at the various settings I used to achieve my final result.
I decided to trace and sketch my layers in separate Silhouette documents because I wanted to use different settings for each one. Below are specifics for all the settings I used. For more general information, the Silhouette blog has a great tutorial.
Download Here
How to Translate Digital Stamps onto Large Format Paper
Most people do not have access to a large format printer, so how do you create hybrid layouts using large 12" scrapbooking paper? One great tool is the Silhouette Sketch Pen. I used it to draw the doodles and other elements onto a large sheet of card stock. Using the Sketch Pen was another first for me and I thought it would be helpful for other newbies to take a look at the various settings I used to achieve my final result.
I decided to trace and sketch my layers in separate Silhouette documents because I wanted to use different settings for each one. Below are specifics for all the settings I used. For more general information, the Silhouette blog has a great tutorial.
Digital Stamps // Yep A Doodle Collection by Darcy Baldwin + Brook Macgee

FAVE-O-RITES Templates by Nettio Designs
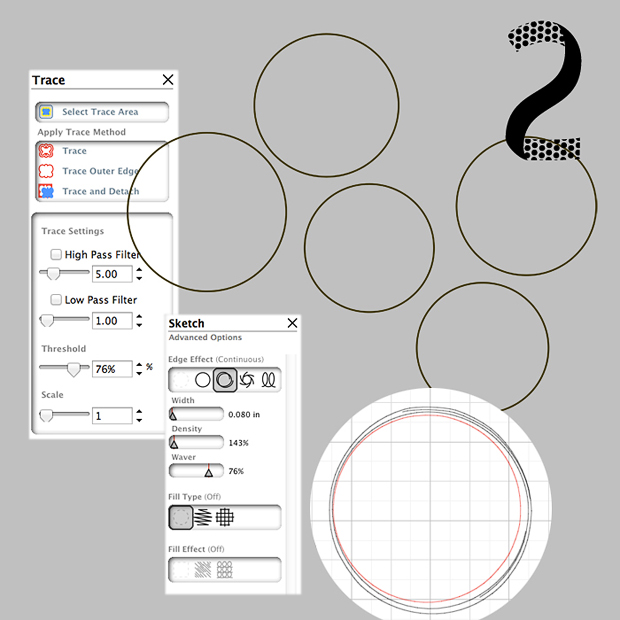
Next, I combined all three layers into one document so I could sketch everything at once. To add a finishing touch , I went back and filled in all of the doodles by hand. I could have added a fill to the shapes when I was configuring the sketch lines, but I preferred this look instead.
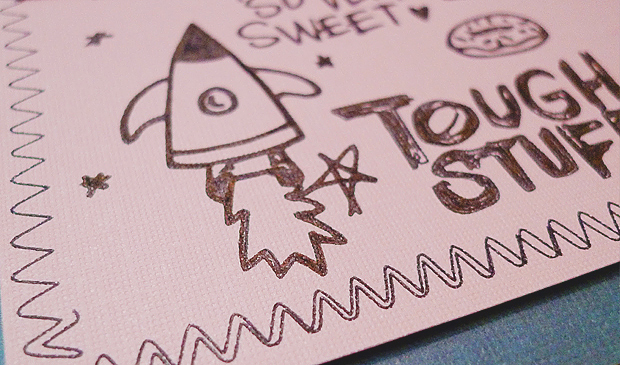
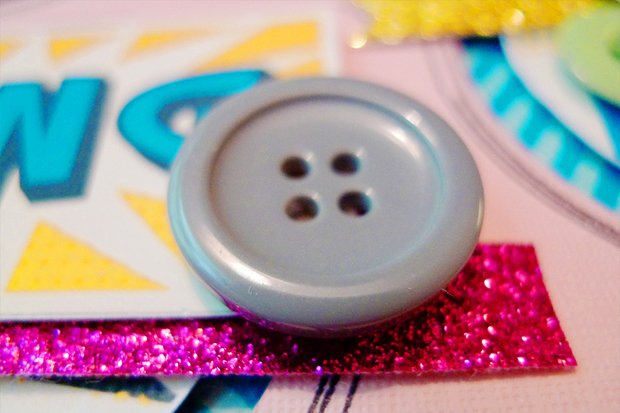
Sketch Pen Tutorial // Silhouette Tips & Tricks // Closeup
And that's it! I can't get over how easy it was to put everything together and I'm looking forward to the creation of many more pages in the future. I hope these tips are helpful to others who struggle with the same scrapping block and I'd love to hear any advice from more experienced paper crafters!
This is an awesome resource! I've been toying with idea of hybrid scrapping but wondered how to use photoshop and my silhouette together, now I have a reference point. Thank You!!
ReplyDelete